Ours was all kinds of relaxing.
We sat on the couch most of the morning watching the parade snuggled up on the couch and then headed to my parent's for a relatively small gathering around their table.
Yum!
So... with another little man in our family, CJ is going to start sharing a room and a closet.
The boys' room is a good size but it's also the room with the best toys and books so it is the room to be in when the kids are upstairs so I wanted to ditch the dresser we have in there as soon as I can. That meant the closet needed an upgrade and thanks to Hubs, some plywood, and a nail gun we got just that.
It started out as a standard closet...
We stripped the closet and mapped out our plan based on the height of the door opening and the duct work on the right hand side.
We decided on half of the closet being shelving and half of it being hanging space including two bars, one for each son.
To get started we measured the height of the laundry basket we use and added about ten inches in case I slack on laundry, which I will. Then we divided the remaining space above the basket to fit five shelves.
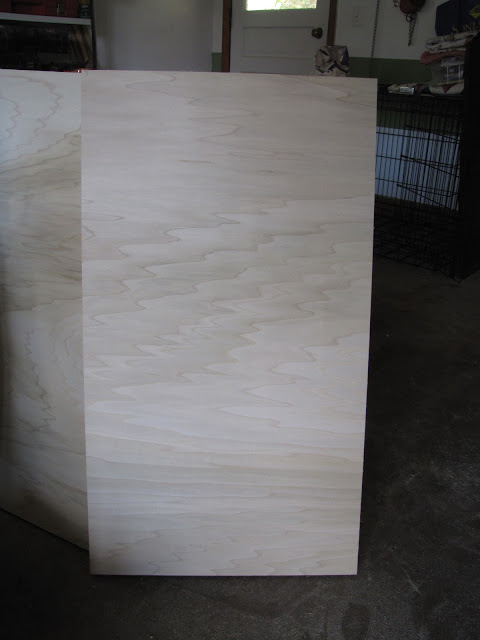
Using a 3/4 plywood we cut a side wall do the depth and height we needed (in this case 18" by 72").
Then, we took inexpensive furring strips and cut them to the depths we needed and nailed them into place at the distances we planned.
(You'll notice that we shorted the top two rails. The very top one is short because our top shelf was so close to the top of the door frame that we wanted to be able to access what was up there. The second one down is short because we ran out of furring strips and didn't feel like buying more just for the couple extra inches we needed.)
Hubs then measured the distance of wall we could access behind the duct for the other side supports (13.5") and nailed them into place at the same distances as the shelves on the upright piece of plywood. (If you were making this and didn't have duct work, you'd want to match the length of these side supports to match the ones on your ply.)
Next we cut five shelves. For us, that meant four 18" x 24" and one 13.5" x 24" (for the top shelf).
Remember that duct work we had to maneuver around? To solve that problem we notched out a corner.
Time to assemble.
Hubs marked the vertical line to where he wanted to attach the side wall for a general guideline.
He then attached the bottom and second shelves by nailing the shelves into the shelf supports.
Ideally we will have supports on the back wall to nail the shelves into as well but we ran out of strips and time so for the moment the side rails are doing all the work.
The side unit is complete and off to bed we all went....
Day two, Hubs used the wood we stripped from the old closet and cut it to work for the new setup.
For us, that meant cutting a rail to support another shelf above the bars, cutting the shelf as well, and cutting the original bar into two, as well as reusing the screws and brackets to support the bars.
At the very end, we decided to throw in one more shelf on the bottom left for toys because, as I said, CJ's room is THE place to play.
And there you have it. We are planning to finish the closet with some trim to clean up the edges of the shelving and to paint the whole thing but for now, it's doing it's job and with a 2 week old it's likely to be a while before that happens.
Here's to progress and a wonderful Tuesday!


No comments:
Post a Comment
I always love a good comment.